Beastman unit converted for use in 40K almost ready for paint.


Design Notes;
Adapted for FOW from battlegames table top teaser book
Overview;
The German army continues to retreat into the West with the Red Army in close pursuit. A German convoy containing supplies, wounded and loot is attempting to escape for encircling Russian forces. The last obstacle in their way is a river but can they get across before the Russians close in.
Terrain;

The game is played on 8'x6' table. The table is setup as above; the main features are the road running from east to west (grey line), the dirt track running from east to west (brown lines) and the river running north to south. The road cross the river at the bridge (point a), while the dirt track crosses it at the ford (point B, counts as very difficult terrain). On the western side of the river is a village with 3-4 buildings. The open ground counts as difficult terrain i.e. all vehicles require a bog down test if moving of the road.
Deployment;
The Russian force is divided into three groups based on their starting location. The German force moves in of the road entering on the eastern table edge (point E). The German player needs to write down what order the platoons move on at. The platoons enter in that order and must end their first turn on the road.
The Russian pursuit force is in delayed reserve. Start rolling for reserves on turn six or when the first German platoon crosses the river which ever happened first.
Forces;
Russians (defending)
@ the Bridge (point A)
1 platoon of Strelkovy (with attached HMG and 57mm AT gun)*
@ the Village (point C)
1 Strelkovy battalion HQ (with attached Commissar)
1 Strelkovy company (3 platoons plus an attached Commissar, HMG and 57mm AT gun)*
1 light tank company (5 Stuarts)
1 Tank destroyer platoon (4 SU-85)
1 Transport platoon (3 trucks)
Pursuit force
1 Armoured infantry platoon (4 squads)
1 Heavy tank destroyer platoon (3 SU-122)
1 Tankovy company (5 T34)
1 Armoured company ( 6 BA-64)
* The platoon defending the bridge is detached from the company in the village. It counts as being out of command until it company HQ is in command range.
Germans (attacking)
1 Company HQ platoon (2 panther tanks)
1 Panzer platoon (3 PIV)
1 Panzer grenadier platoon (3 squads plus a panzerfaust and attached HMG)
1 truck convoy (4 trucks which overloaded and independent teams)
Special Rules;
Not ready;
The Russians defending the village count as not ready. Each team must pass a skill test before it can move or shoot. Platoons can start moving/shooting once the command team and more than the half of the squad are ready.
Wrong turn;
One of the roads is actually a dirt track. While it is easy for the players to see the track, the truck drivers dodging bullets are not so fortunate. When a truck moves through an intersection (point D) it must take a skill test. If it pass the player can move it as normal if it fails it takes a wrong turn and leaves the table from the wrong edge i.e. it counts as destroyed.
Victory conditions;
The number of trucks exiting determines the winner. Three or more trucks exiting the board is a win for the Germans. Two trucks exiting is a draw. Only one or no trucks exiting is a win for the Russians.
Off topic;
Below are some images from a recent battle of the Bugle game.

German Mortars defending the approach to Doennange village


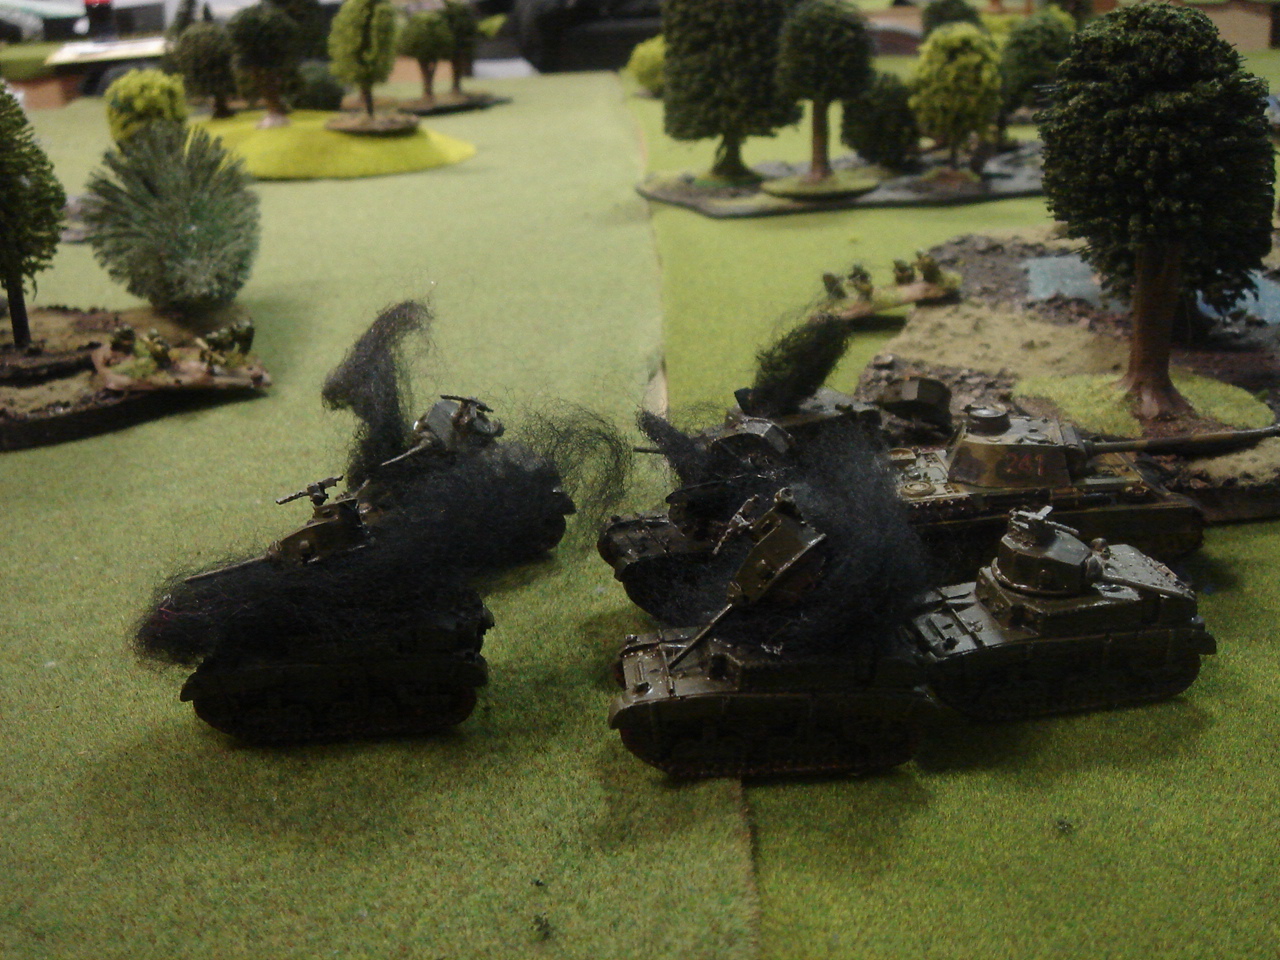
Americans under heavy fire outside Lullange. The smoke markers are the wrecks of a covering sherman tank platoon
 Outpost 117-A was a little known settlement consisting of two habitat domes surrounded by bunkers and razor wire. Unbeknown to the marines the cultists deployed in an all round defence. The patriarch and one brood of genestealers occupied one habitat dome. A mob initiates occupied the other habitat the second mob occupied a nearby bunker. The two brood brother squads occupied the bunkers at the entrance of the outpost. Each brood brothers squad was reinforced with an ammo store. Two broods of genestealers and a mob of initiates went into reserve.
 Unperturbed, the space marine’s started shooting by using a crash and burn stratagem to fire a space ship at the outpost. The first piece of debris was aimed for the patriarch’s habitat dome but scattered on to a nearby bunker containing a mob of initiates. Fortunately for the initiates the bunker survived the attack. The second piece of debris hit the habitat dome containing a mob of initiates destroying it and killing twenty its occupants and forcing the unit to flee. The third and fourth pieces were targeted at the brood brother squads. One missed with no effect while the second destroyed a bunker killing several of its occupants. The survivors were then raked with fire from the nearby assault cannon armed dreadnought claiming several more casualties. The rest of the shooting was uneventful with both of the multimelta’s missing nearby bunkers. The assault terminator squad charged the habitat dome containing the patriarch but could not damage it.
 In response cultist reinforcements began to arrive. Flanking brood of genestealers went after a nearby land speeder while a flanking mob of initiates went after a squad of terminators. In the outpost a mob of initiates left the safety of their bunker to engage the assault terminators. Patriarch and his stealers used an escape hatch stratagem to move into position to assault the Chaplin and tactical squad. Shooting was largely ineffective with the mobs of initiates killing two terminators with small arms fire while the brood brother lascannons failed to hit the nearby dreadnought. In hand to hand the cult performed better with the outflanking initiates destroying a squad of terminators while the second mob pinned the assault terminators in combat. The patriarch transfixed the space marine Chaplin and his brood attacked and destroyed the nearby tactical squad while the patriarch dispatched the Chaplin. The only upset to the cults attack was the outflanking genestealers inability to hit or damage a landspeeder.
 The cultist defences were reinforced by a newly arrive brood of genestealers moved to assault another nearby landspeeder. The Patriarchs decimated brood withdrew into a nearby bunker, while the initiates in the outpost moved to reinforce the Patriarchs brood. The remaining brood brothers squad fired on and missed the approaching dreadnought. The two remaining genestealers brood assaulted both the land speeders and succeed in stunning one.
 In response The Patriarchs brood once more left the safety of the bunker. The Patriarch moved into another bunker while the rest of his brood moved to delay the last terminator squad. The initiates in the outpost moved to support the patriarch while the other Genestealer broods moved to engage the nearest marine units. The brood brother squad inside the outpost fired on the dreadnought assaulting their bunker but missed in reply the dreadnought destroyed their bunker forcing the squad into the open. The initiates fired on the approaching terminators but had no effect. The patriarch’s brood assaulted and pinned the terminators in combat.


Snoder River- Eastern Front 1944
Snoder river mission is adapted from battlegames table top teaser vol1.
Overview;
Set in late 1944 on the eastern front in a bid to stop the Russian advance the German high command has ordered the destruction of all bridges on the Snoder River. A German task force is attempting to blow the bridge while a Russian force is attempting to stop them.
Terrain;
The terrain main features are the Snoder river, a small village with an stone bridge and several roads leading to the bridge from all directions. The bridge over the river should be in one quadrant of the table with the river running diagonally across the quadrant entering and leaving in different table edges. The small river bank is the German side of the river. The larger side is the Russian side. Roads on the Russian side of the river must leave the table at least 36” from the bridge. Roads from the German side of the river may enter the table at any point
Forces;
German force (defending)
1 SS company HQ (CIC, 2IC and 2 attached panzershreiks)
1 SS Grenadier platoon (with panzerfaust and 3 section)
1 SS panzer platoon (5 PIV)
1 SS engineering platoon (with panzerfaust and 1 section)
1 battery of 88mm (2 sections)
1 battery of medium artillery (2 sections of 105mm guns)
Reinforcements
1 SS heavy panzer platoon (1 PVIb)
1 SS Grenadier platoon (with panzerfaust and 3 section in trucks)
Russian force (attacking)
1 Guard company HQ (CIC, 2IC and Kommissar)
2 Guard tank companies (7 T34’s in each)
1 Guard Motostrelkovy company (3 platoons in trucks)
1 Guard infantry gun platoon (two sections)
1 Guard infantry heavy mortar company (three platoons)
Reinforcements
1 Guard infantry company (3 platoons in trucks)
1 Guard heavy tank company (5 IS2)
1 Sapper Company (3 engineering platoons in trucks)
1 Razvedi platoon (3 sections in BA-10M)
Deployment;
The German defending force in deployed anywhere within 18” on the bridge. The defendinf force is dug-in.
The Russian attacking force is deployed anywhere but must be deployed at least 24” from the defenders and must all be on one side of the river.
All reinforcement are in delayed reserve (ie starting rolling from turn three on). Arriving reserves must enter the table via a road.
Special Rules;
T-10 and counting
The engineering platoon is in the process of blowing the bridge but it will take time.
The defender secretly rolls three D6 (minimum score of ten needed or roll again) this is the number of turns required to wire the bridge from demolition.
While wiring the bridge the engineers can only be shot at be small arms (firepower 6+ or worse) anything else risks damaging the bridge.
Once wired for demolition the defender can declare he is going to blow the bridge roll a D6:
1 = misfire
2= partial detonation and still passable
Roll a D6 to determine how long before the detonation can be attempted again.
3= partial detonation but not passable. Can be repaired in D6 moves by Russian engineers.
4-6 = bridge destroyed
For a second attempt to destroy the bridge roll a D6+1 and consult the table above.
Victory Conditions;
The games last until the bridge is destroyed or captured. The germans win if the bridge is destroyed russain win if it is captured.
